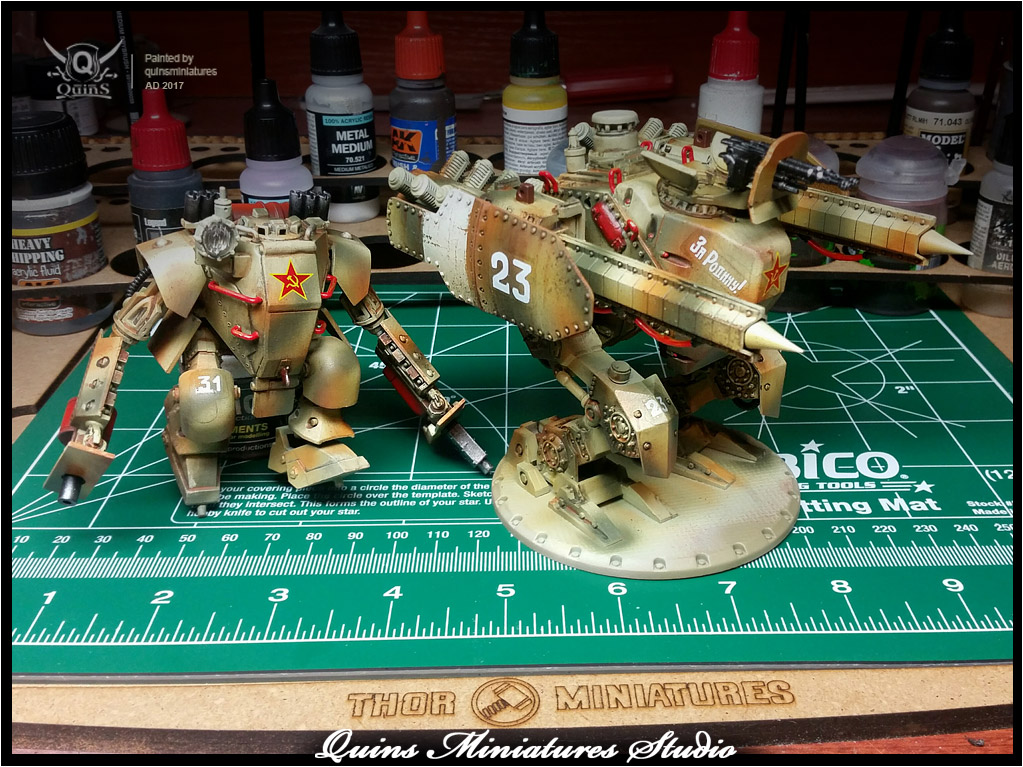
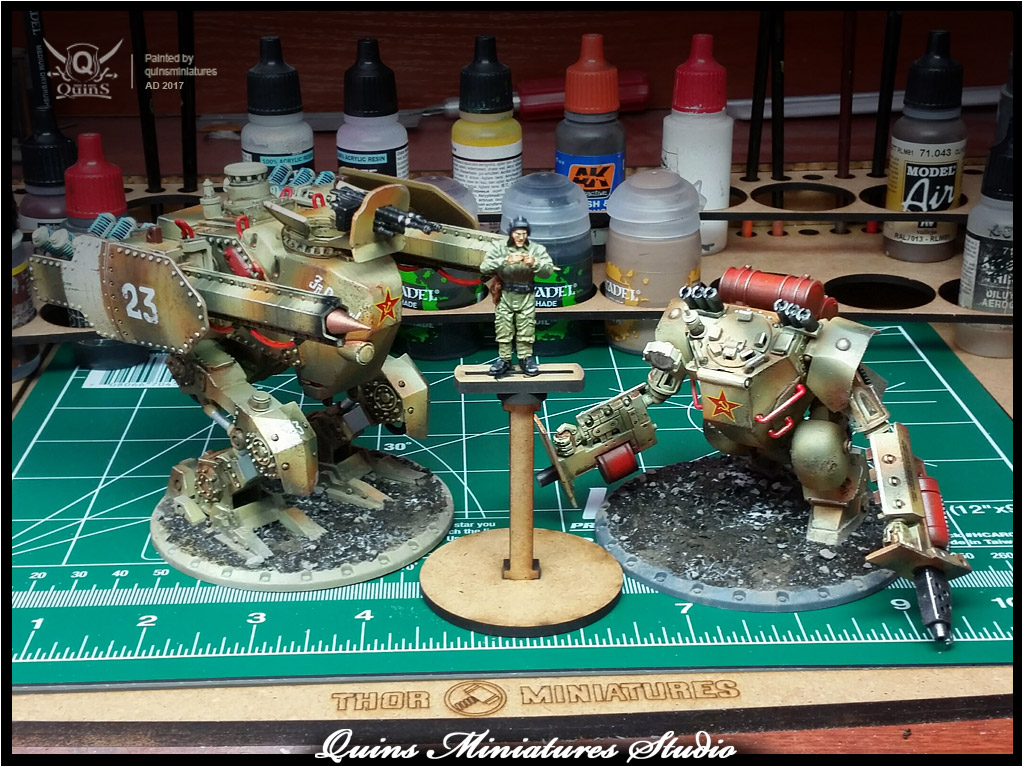
Attention! Today we gonna participate in a special training that master painters from Quins Miniatures Painting Studio have prepared! Those men make a fine job with their models so watch and learn! More of their outstanding work you can find at – https://www.facebook.com/quinsminiatures/.
So, now we start and give the floor to the experts:
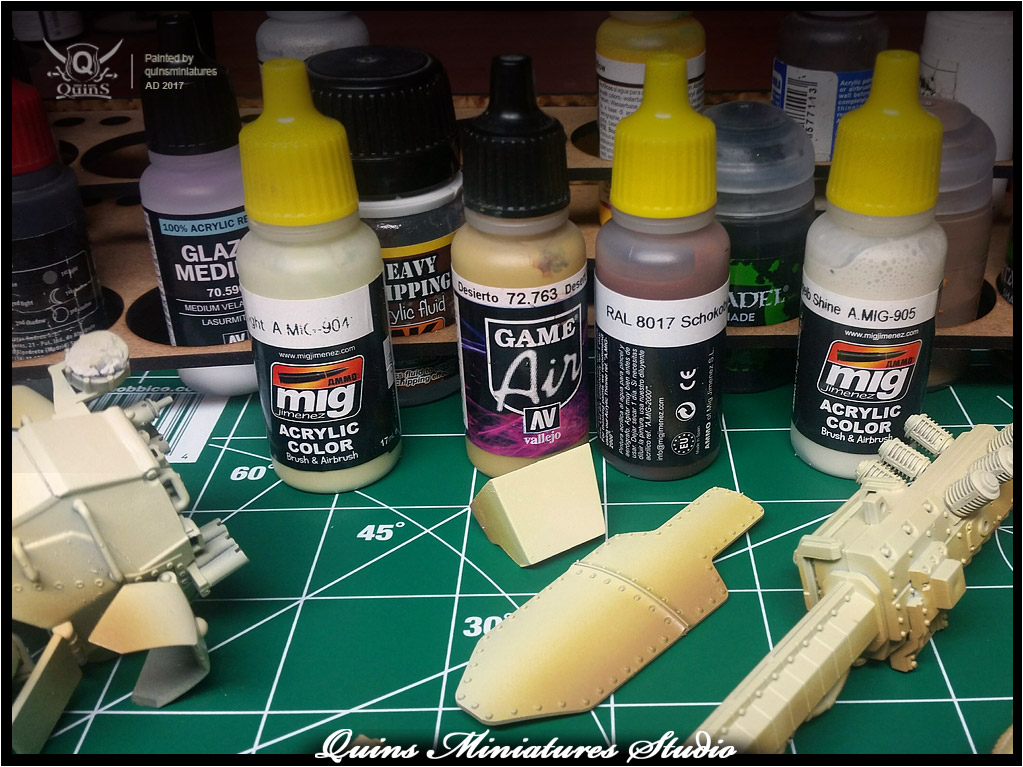
We start our paint job by placing our main colour AMMO MIG 904. Next i place shadows using mix of Valleyo 72763 and AMMO MIG 015. At this stage of work I often use a small addition of Valleyo Glaze Medium for smoother passing between the colouts. At the end i put AMMO MIG 015 mixed with Valleyo Glaze Medium on the brightest part of the model.
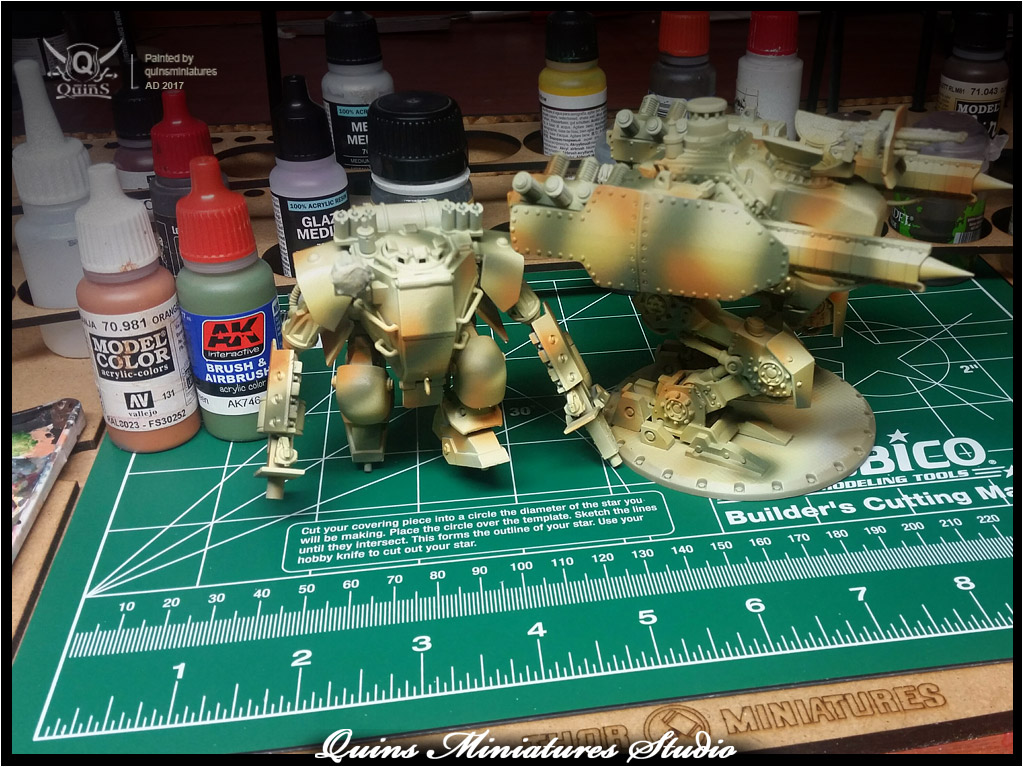
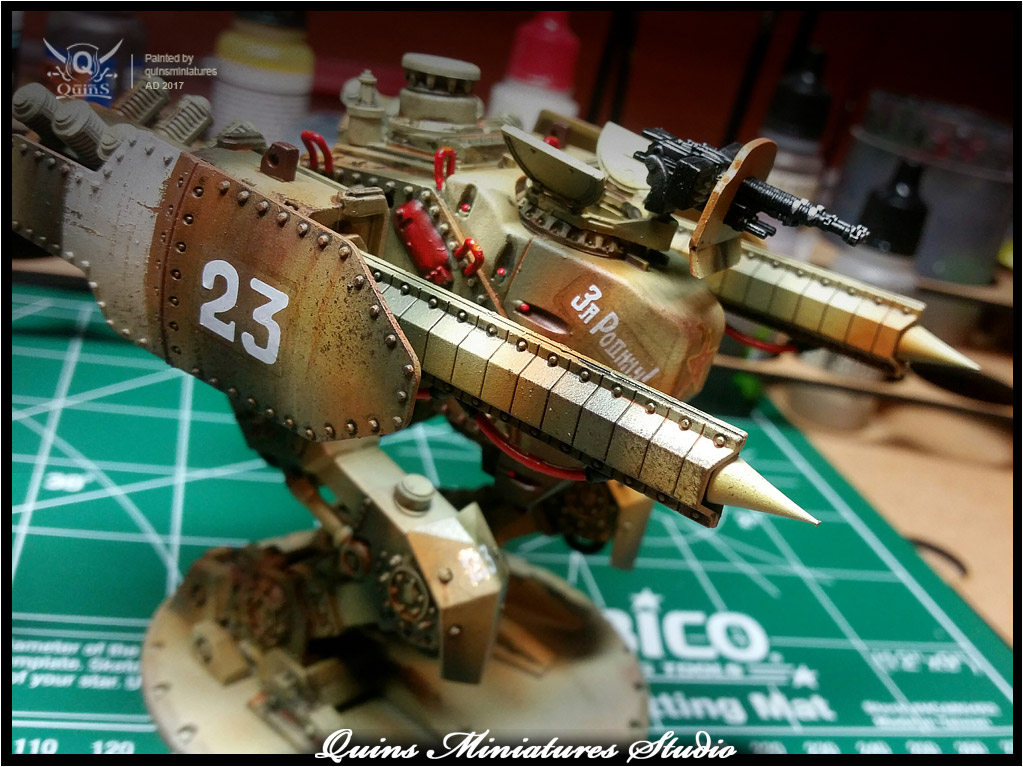
Starting with AK746 i start placing the first camo elements. Next i fill the missing spots with Valleyo 70981 making a 2 tone camo.
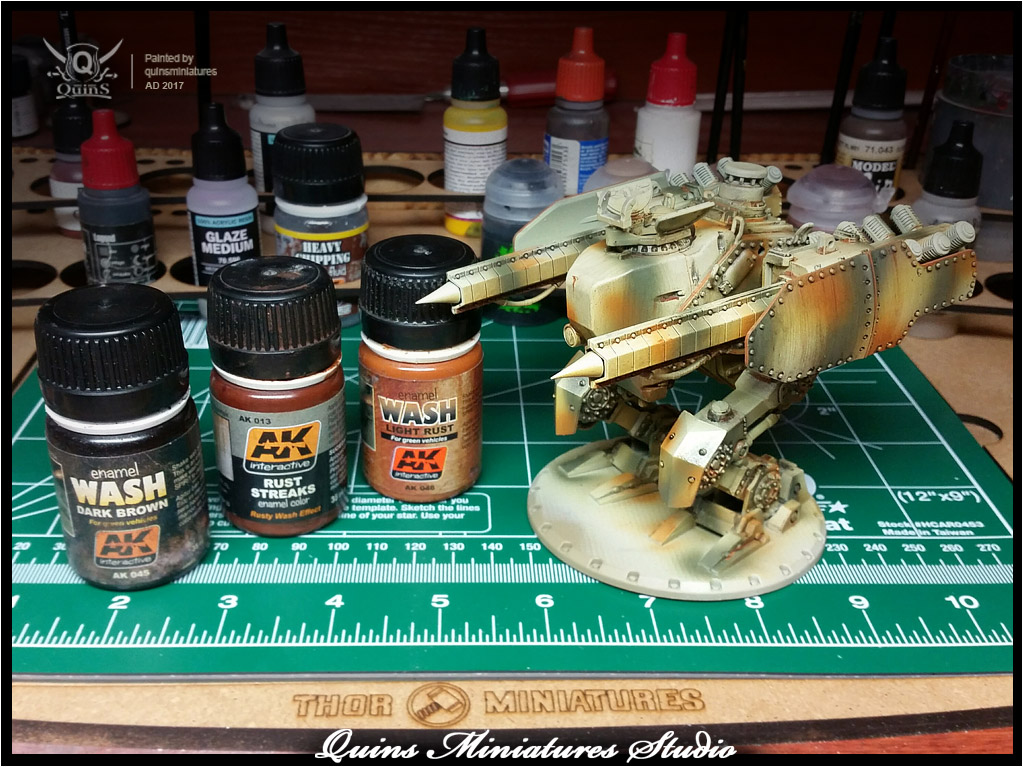
Now it’s time for some stains. Before placing washes i put a coat of gloss varnish on the whole model. Using AK045 i create dirt in the recess and around the rivets. After the paint dries i use a wet brush to remove any excess wash. In the next step i create marks of rust and some more aggressive stains using first AK013 and then AK046 for a finishing touch.
IMPORTANT: If you plan to make a lot of stains in one place be sure to separate them with coats of varnish!
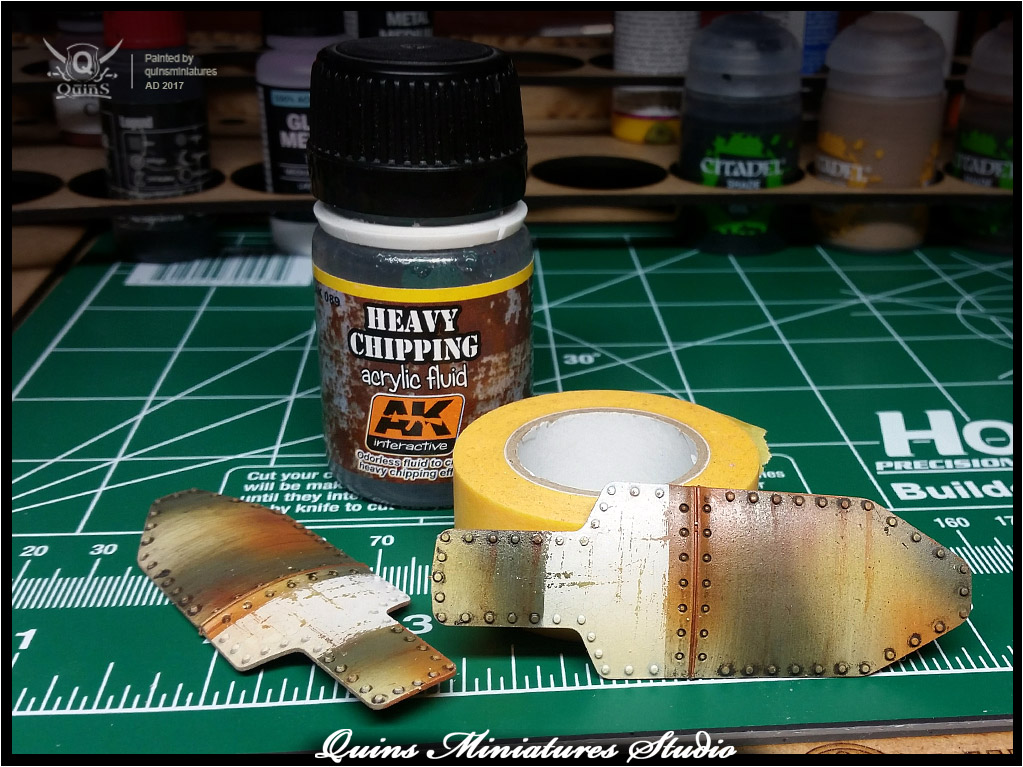
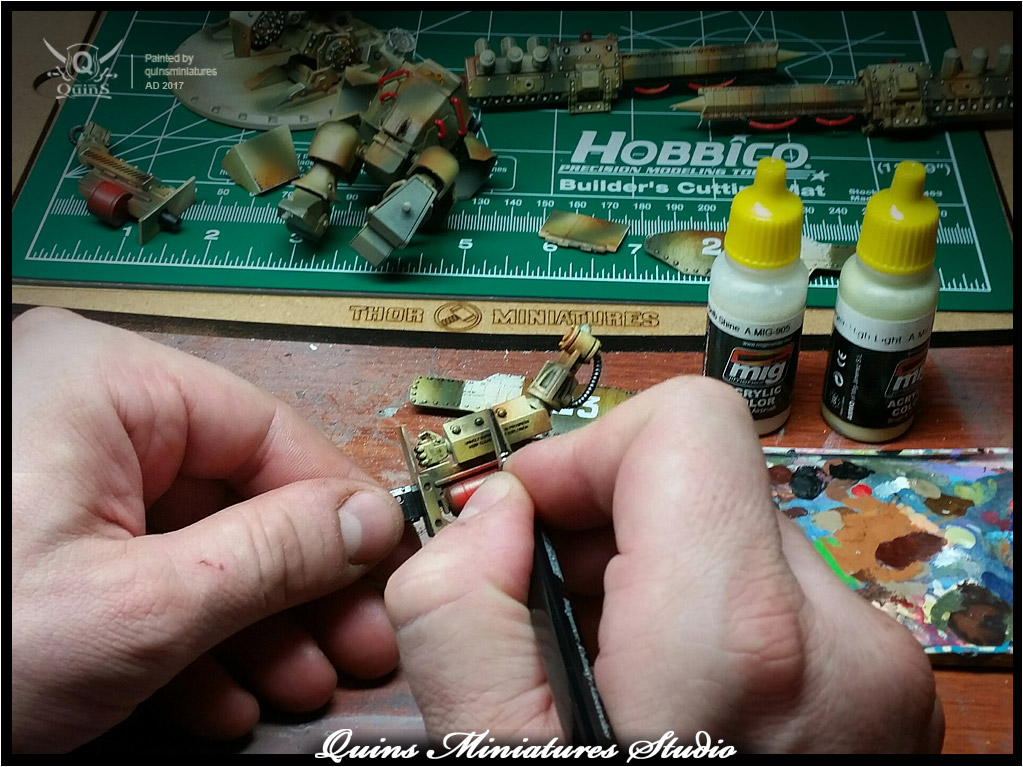
And now what i like the most – chipping. Notice that the white element i’m about to work on is shaded. It’s very important and allows us to get a realistic look. To acquire a good scratches effect first you need to put a thin layer of Chipping Medium and after it’s dry – a coat of paint we plan to chip. After all layers are properly dry we take a wet brush and moisture the color we plan to chip. The more water you use, the more and easier the paint will go off. With a heavy coat of Chipping Medium and large amount of water the paint will sometimes crack on itself creating a very nice effect.
On the brightest rivets and ledges i put main color AMMO MIG 904. When working on the ledges remember to put paint with the middle part of the brush, not the end. Thanks to it the ledge will be much more precise and lines will be event and thin.
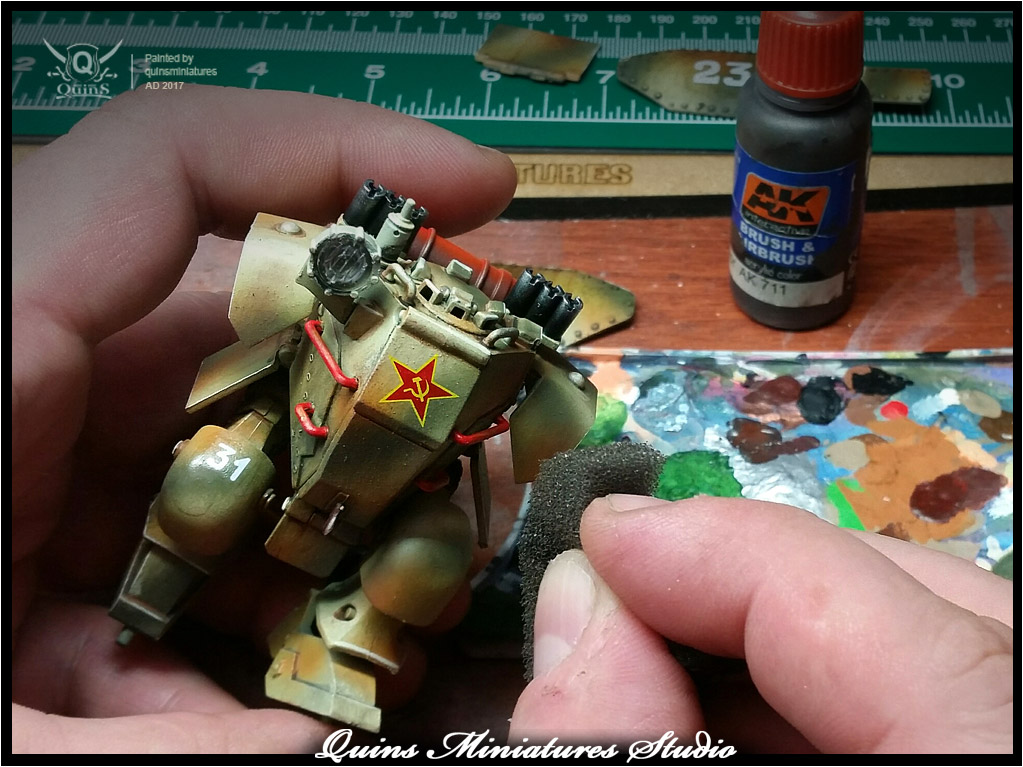
Using a sponge filled with Chipping Color AK711 (very carefully!) I add some drubbing on some parts of the model.
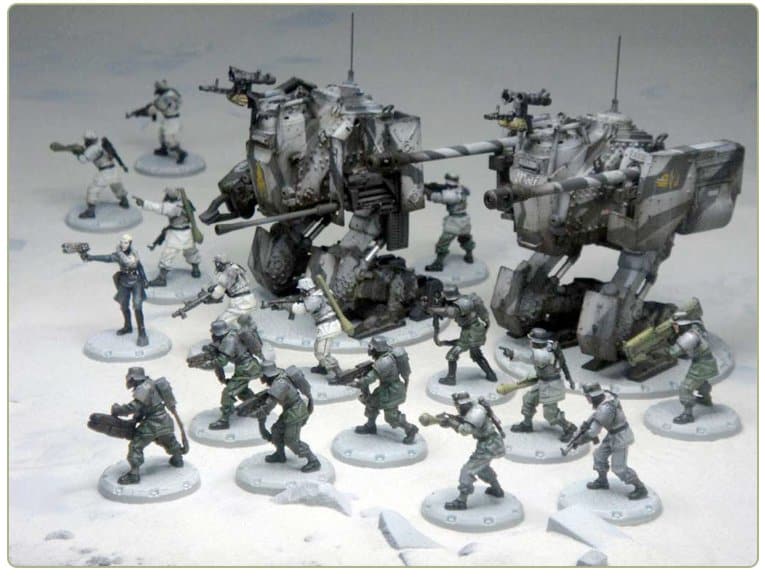
And that’s how in some very quick and easy steps i managed to make a very interesting camouflage. It fits the SSU vehicles very well. Now just some work on the bases and the Type 47 pilot and we are done!


 Heroes
 Infantry squads
 Models for assembly
 Vehicles
 Starter Kits


 Stark
Stark Night's Watch
 Greyjoy
 Baratheon
 Targaryen
 Neutral
 Free Folk
 Martell
 Bolton
 Choose your fraction

![Starfall Knights [PL]](https://warfactory.pl/wp-content/uploads/2022/12/Rycerze-Starfall-Front.jpg)
![Highgarden Pikemen [PL]](https://warfactory.pl/wp-content/uploads/2022/04/Pikinierzy-Front-scaled.jpg)
![Neutral Heroes #3 [ENG/PL]](https://warfactory.pl/wp-content/uploads/2023/11/Front-NHIII-PL.jpg)
![Sunspear Royal Guard [PL]](https://warfactory.pl/wp-content/uploads/2022/09/Gwardia-Ksiazeca.jpg)

![Golden Company Swordsmen [PL]](https://warfactory.pl/wp-content/uploads/2022/06/Szermierze-Front-scaled.jpg)
![Dune Vipers [PL]](https://warfactory.pl/wp-content/uploads/2022/12/Zmije-Front.jpg)
![Starfall Outriders [PL]](https://warfactory.pl/wp-content/uploads/2022/12/Lekka-Jazda-Starfall.jpg)


